Applications of Our Products
ELECTRONIC PCB INSPECTION
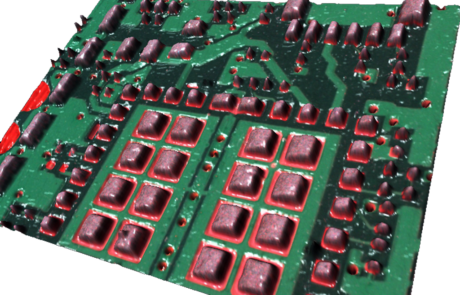
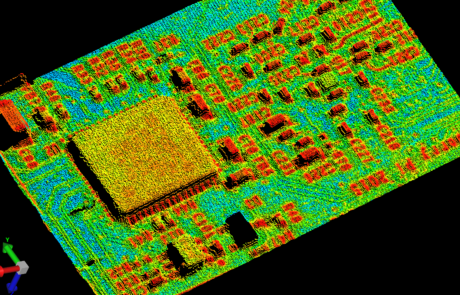
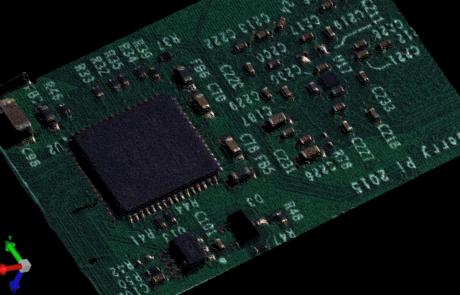
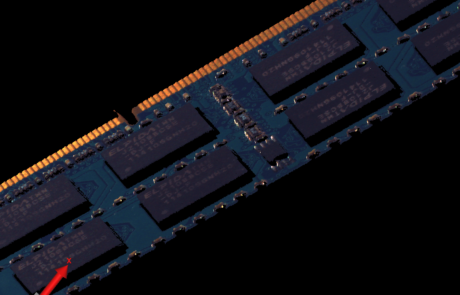
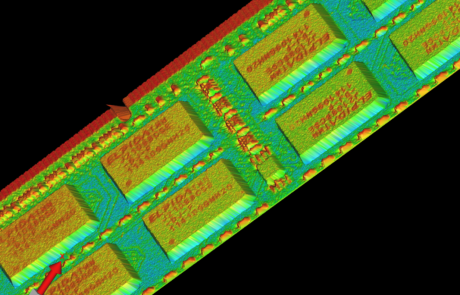
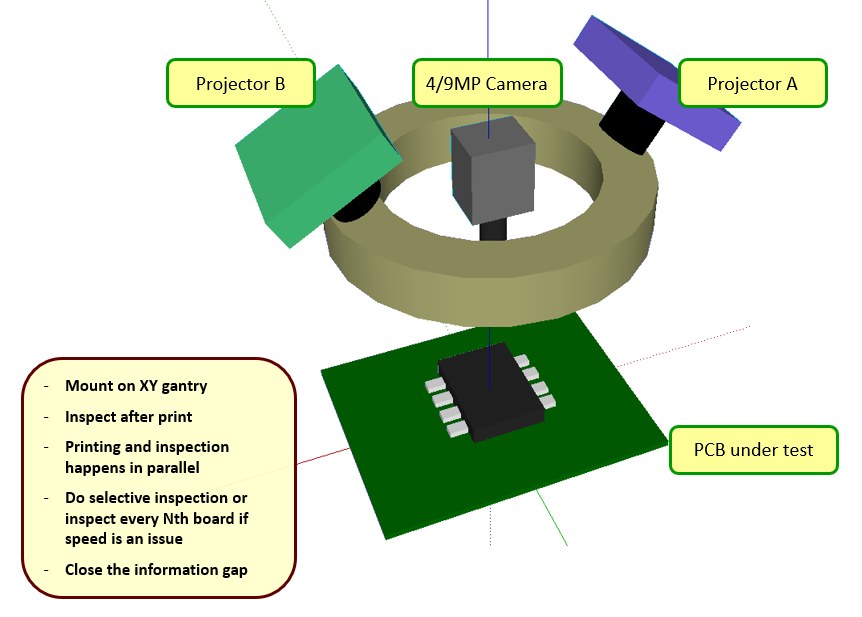
Quality control for Electronic Printed Circuit Board manufacturing is one of the main application area for our sensors. Ever decreasing sizes of SMT devices mean inspection system are needed with even better vision capabilities. Our software and sensors can provide high quality 3D data needed for solder paste inspection which is one of the most critical processes on any SMT lines. In addition our unique Heterodyne Moire Interferometry technology enables our sensors to image whole board in 3D. The explicit and color invariant 3D information makes the image analysis required for Automated optical inspection much more robust. The resulting inspection system is easy to train and requires minimum tweaking to ensure reliable inspection performance.
MOBILE PHONE ASSEMBLY INSPECTION
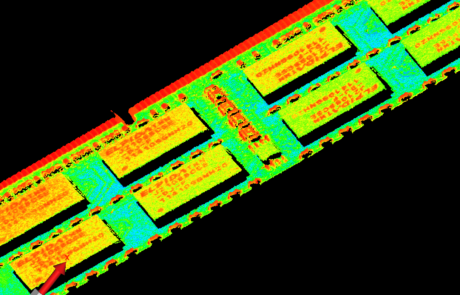
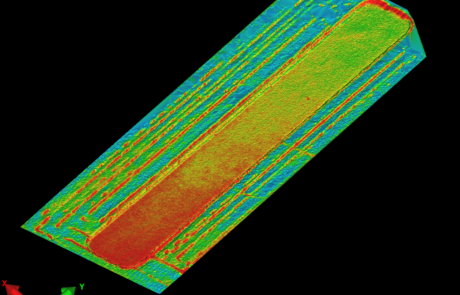
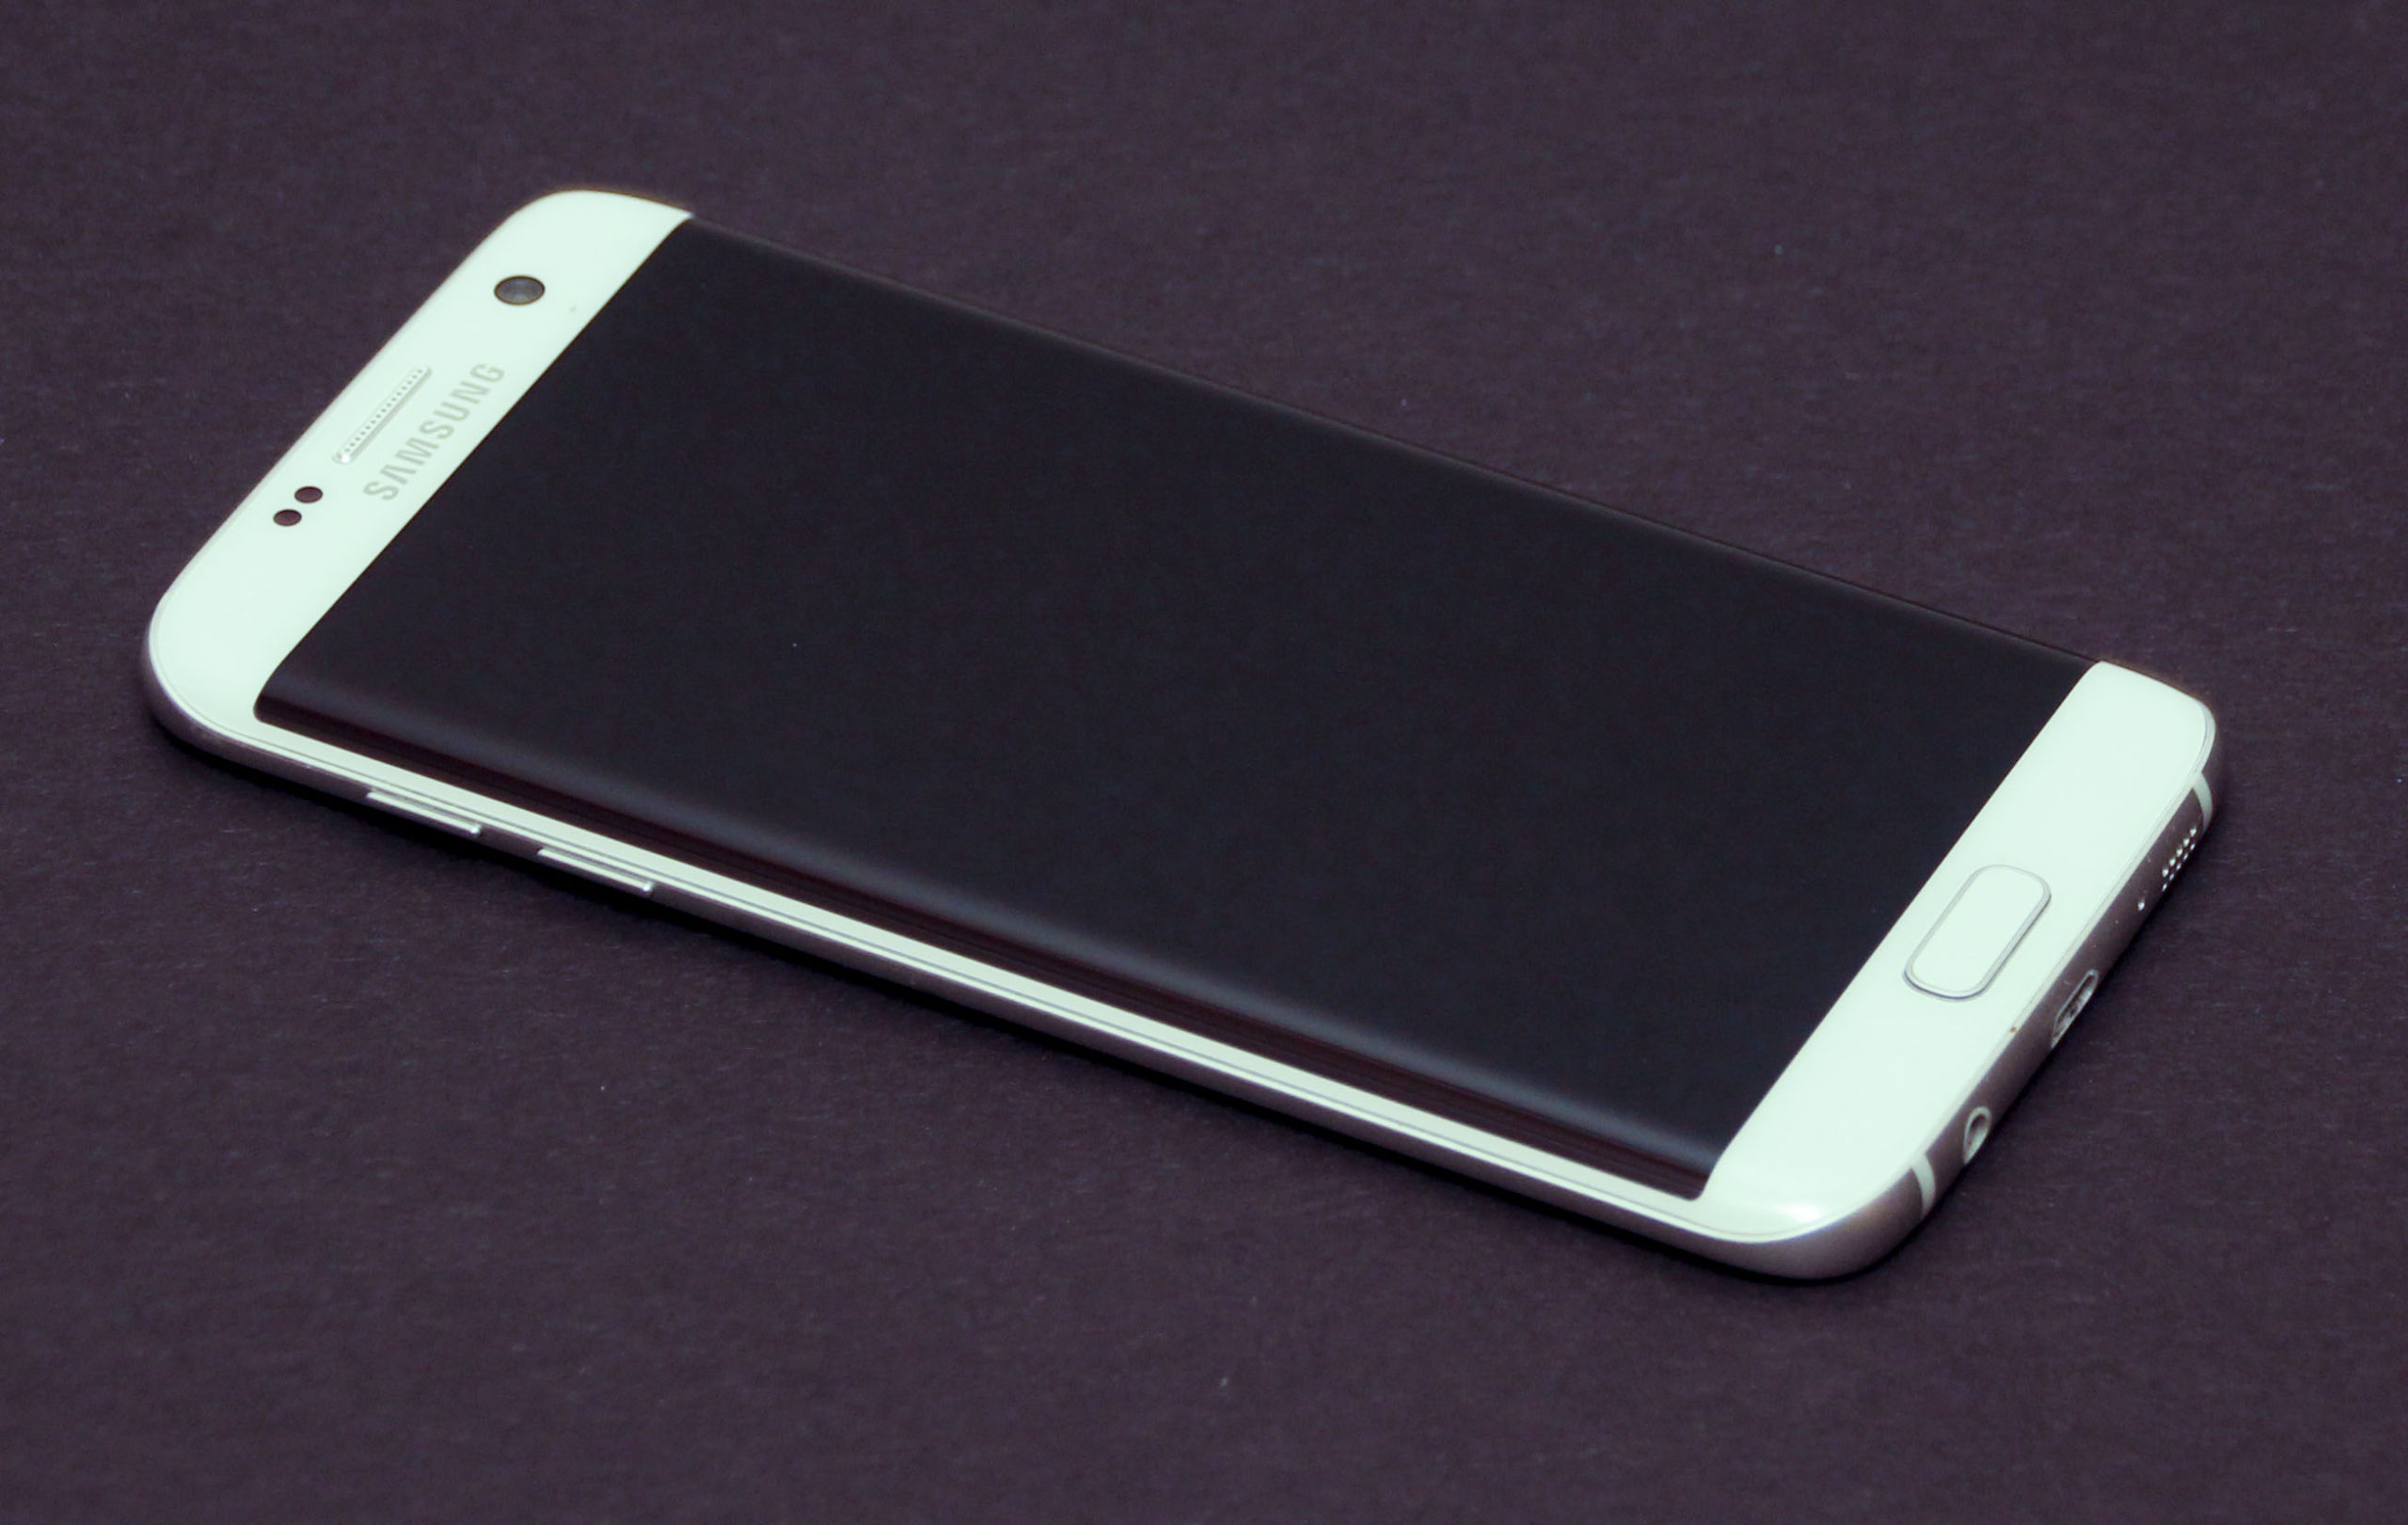
Quality control of Mobile Device Assembly poses many challenges. With rapidly evolving market and ever shrinking device sizes dense 3D imaging is the only way to ensure quality problems are detected before they become a brand damaging recall scene. Mobile battery assembly is one of the those areas where even minor process drifts can cause full product recalls as for example Samung found with S7 battery incident.
Our MicroZ sensor provides dense 3D data upto 12 MP with per pixel height with sub micron accuracy which makes the quality control of mobile assembly process more manageable.
VISION GUIDED ROBOTICS
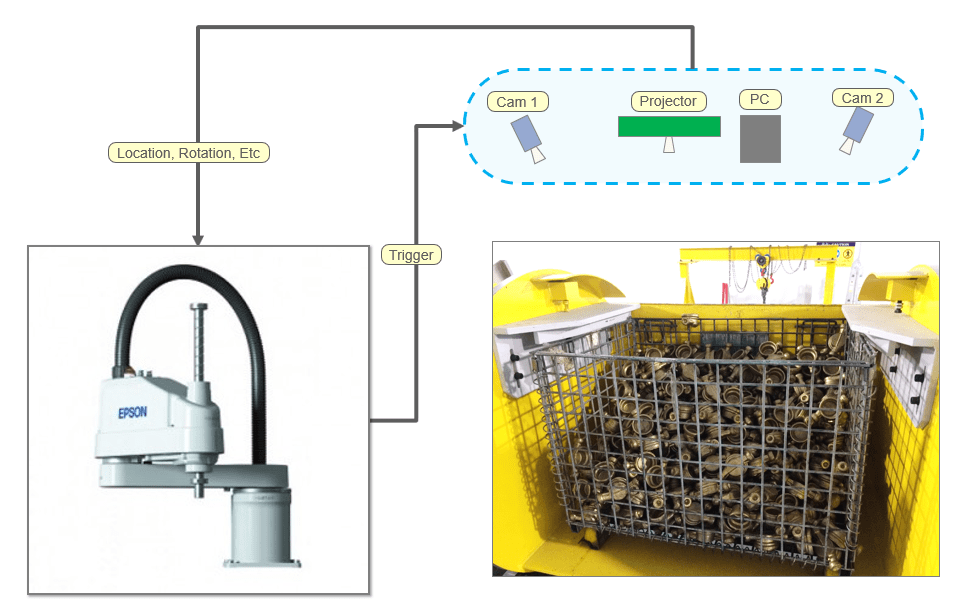
In most industrial manufacturing facilities the use of robots is on the rise. Traditionally the robotic guidance has been done using 2D vision and geometric pattern matching. Training such a system to get reliable performance is very difficult and is limited to handling object of low to moderate geometric complexity. Our smart sensor change this picture by providing high speed 3D information at video rates. The explicit scene information contained the 3D pictures makes the task of locating even very complex object geometries very easy. As a result the systems are easy to train and perform very reliably.
REVERSE ENGINEERING
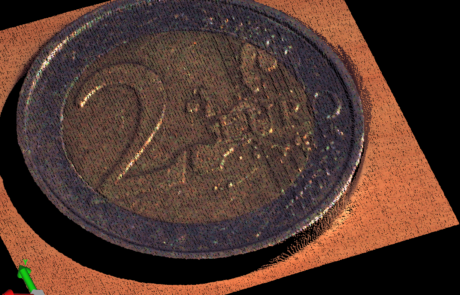
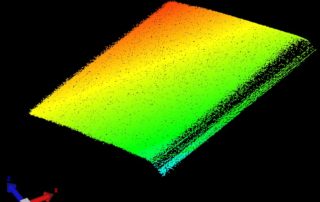
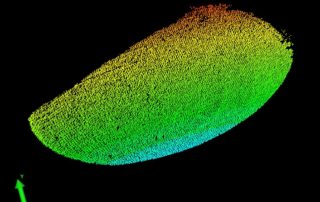
In many mechanical design problems the models have to be acquired by measuring a prototype. Our sensors can provide high quality 3D data that can make the job of reverse engineering both easier and faster compared to traditional approaches of using coordinate measuring machines (CMM). Moreover, as our technology uses white light, it doesn’t suffer from the speckle problem that plague the data quality of laser triangulation based 3d sensors.
GLASS & METAL INSPECTION
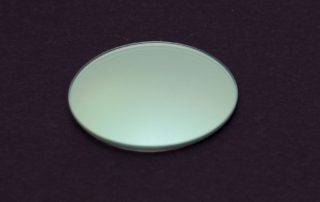
Our TranZ sensor uses cutting edge multiview deflectometry to enable 3D measurement of glass and shiny metallic surfaces. It is an excellent tool for inspection and quality control of mobile glass screens and metal coated mobile covers.
